Air fryers have become a favorite kitchen gadget for many people.
They can cook crispy, delicious meals with little to no oil, so it’s easy to see why they’re so popular.
But just like any kitchen tool, your air fryer needs regular cleaning to keep it working correctly and ensure your food stays tasty.
If you’ve been using your air fryer regularly, it’s probably time for a deep clean.
In this guide, we’ll walk you through how deep to clean your air fryer step by step.
These tips will help you maintain your appliance like a pro, ensuring it runs smoothly for many future meals.
Why Deep Cleaning Your Air Fryer Is Important
When you use your air fryer frequently, food particles, grease, and oils can build up in the appliance.
Over time, this can affect the taste of your food, cause unpleasant odors, and even impact the air fryer’s performance.
Deep cleaning helps remove stuck-on food, prevents grease from burning, and keeps your air fryer in shape.
Step 1: Unplug and Cool Down
The first step in cleaning your air fryer is to ensure it is safe to handle.
After cooking, always unplug the appliance and allow it to cool completely before cleaning.
This prevents burns and protects your air fryer’s electrical components.
Step 2: Remove and Wash Removable Parts
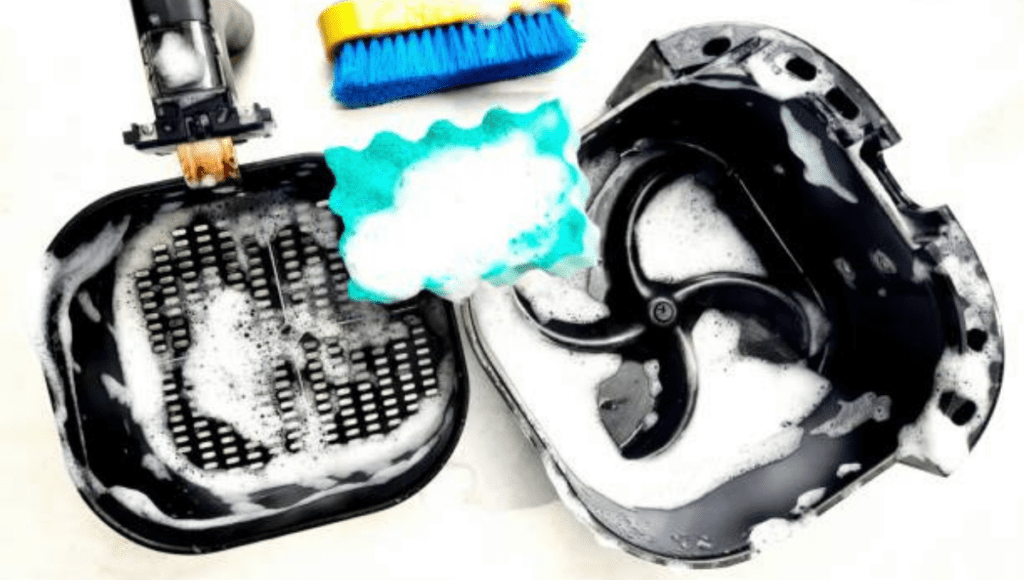
Most air fryers have removable parts, such as the basket, tray, and pan. These pieces hold food while it cooks, and they’re the first places where grease and food can build up.
Tip: Check if your air fryer’s removable parts are dishwasher-safe. You can pop them into the dishwasher for easy cleaning if they are. If you need help, follow the steps below.
- Remove the basket, tray, and pan from the air fryer.
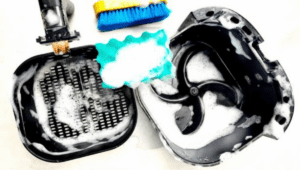
- Wash them in warm, soapy water using a non-abrasive sponge.
- Scrub off any stuck-on food or grease.
- Rinse thoroughly and let them air dry.
This step helps keep your air fryer free from leftover food that could cause odors or smoke during future use.
Recommended Amazon Product:
- OXO Good Grips Dish Brush – This brush is perfect for scrubbing away any food residue from your air fryer parts without scratching them.
- Microfiber Cleaning Cloths by Amazon Basics – Soft and durable, these microfiber cloths are ideal for cleaning your air fryer’s removable parts and other kitchen surfaces.
Step 3: Clean the Heating Element
The heating element is the part of the air fryer that does all the heavy lifting by circulating hot air. Over time, food particles and grease can get stuck on the heating element, reducing its efficiency.
Here’s how to clean it:
- Turn the air fryer upside down to access the heating element.
- Use a soft brush or cloth to wipe away any food or grease gently.
- Dip the cloth in water and baking soda for stubborn grime, then gently scrub the area.
- Wipe with a clean, damp cloth to remove any residue.
Step 4: Wipe the Interior and Exterior
Although the outside of your air fryer may not seem like it gets dirty, it can accumulate grease, dust, and fingerprints over time. The inside walls of the fryer can also collect grease from cooking.
To clean the interior and exterior:
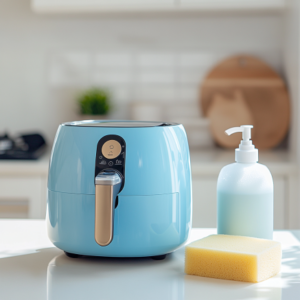
- Use a damp cloth or sponge with mild dish soap.
- Wipe down the inside walls and exterior of the air fryer.
- Avoid scrubbing too hard to prevent damage to the finish.
- For stubborn grease spots, use water and vinegar to wipe the surfaces.
Ensure you don’t get any water into the electrical components, which can damage the appliance.
Looking for more excellent air fryer recipes after deep cleaning? Check out the Best Air Fryer Cookbook For Beginners UK [TOP 7 Reviewed] on Amazon!
Step 5: Clean the Air Fryer Fan (if applicable)
Some air fryers have a fan that helps circulate hot air for even cooking. Over time, this fan can collect grease and food particles, which may affect its performance.
To clean the fan:
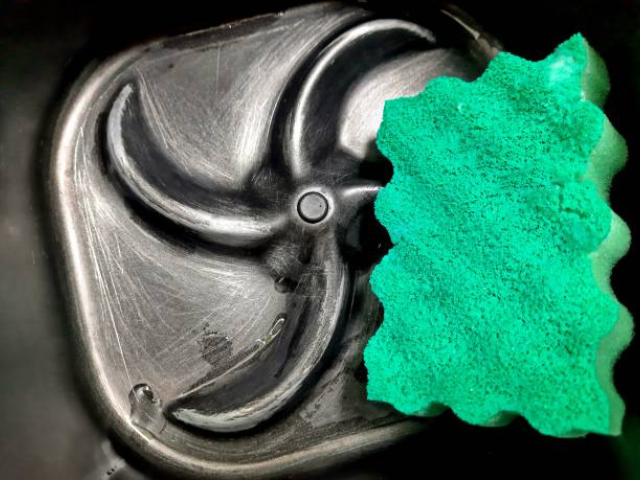
- Use a damp cloth to wipe off grease or food from the fan blades gently.
- Use a soft brush and a mixture of water and mild detergent for tough spots.
This will ensure your air fryer continues to cook food evenly and efficiently.
Step 6: Reassemble Your Air Fryer
Once everything is clean and dry, it’s time to put your air fryer back together.
Place the basket, tray, and pan back into the air fryer.
Double-check to ensure everything is correctly positioned before plugging the appliance back in.
Step 7: Regular Maintenance Tips
Deep cleaning your air fryer once a month or after heavy use is a great way to keep it in top condition. But in between deep cleanings, it’s a good idea to practice regular maintenance.
- Tip: After each use, wipe down the inside and clean the removable parts to prevent buildup.
- Empty any crumbs or excess food after every use.
- Avoid using metal scrubbers, as they can damage the nonstick coating.
Conclusion
Maintaining your air fryer like a pro is easier than it seems!
With regular cleaning and these simple steps, your appliance will continue delivering tasty, crispy meals for a long time.
Deep cleaning ensures you remove any food buildup, grease, and odors that might affect the taste and performance of your air fryer.
Discover the Ultimate Air Fryer Cookbook for Beginners and enjoy a variety of mouthwatering, easy-to-make recipes that fit perfectly into your healthy lifestyle! Plus, don’t forget to check out our recently published articles for more tips, reviews, and air fryer inspiration.


